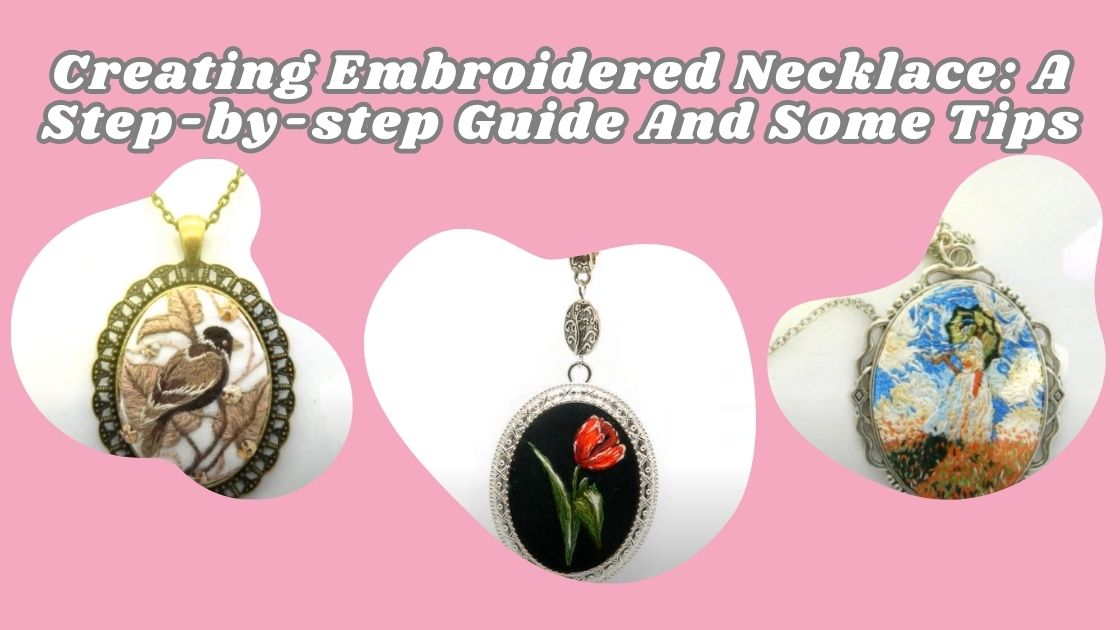
Embroidered necklaces go beyond mere accessories; they’re channels for creativity and personal expression. Armed with some basic embroidery skills and a handful of materials, you can fashion a remarkable necklace that exudes elegance and individuality. This guide walks you through the process of crafting your embroidered necklace, from material selection to the finishing touches and some useful tips.
Contents
Materials Required
- Embroidery hoop
- Fabric (preferably cotton or linen)
- Embroidery floss in assorted colors
- Embroidery needles
- Scissors
- Necklace chain or cord
- Jump ring
- Beads or sequins (optional)
- Fabric glue (optional)
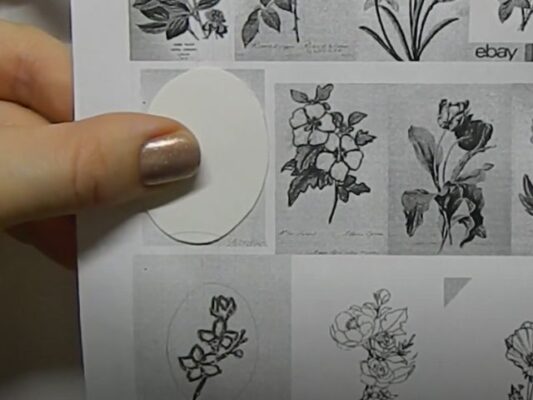
Step 1: Design Your Pattern
Begin by sketching your design on paper, considering the necklace’s size and shape. While geometric shapes or floral motifs are beginner-friendly, feel free to explore more intricate designs.
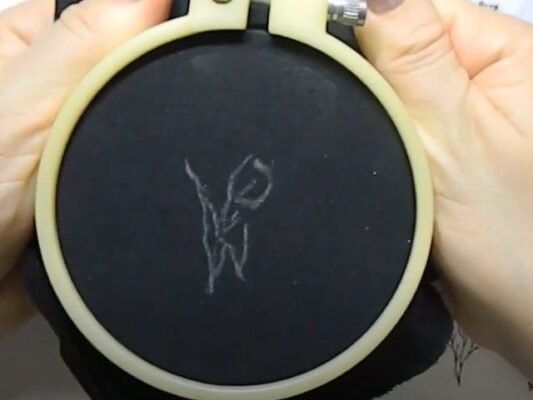
Step 2: Transfer the Pattern
Trace your finalized design onto the fabric using a water-soluble fabric marker or tracing paper. Secure the fabric in the embroidery hoop to maintain tension.
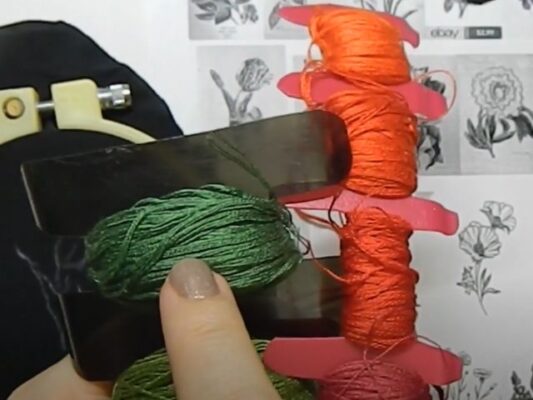
Step 3: Choose Your Colors
Select embroidery floss that complements your design. Whether opting for a single hue or a vibrant palette, thread your needle and tie a knot at the end.
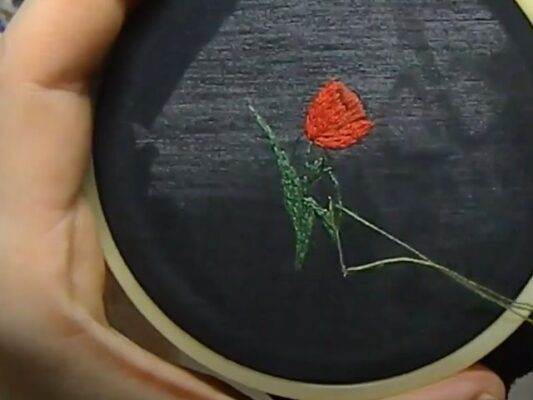
Step 4: Start Embroidering
Commence stitching your design, following the traced lines. Employ basic embroidery stitches like backstitch, satin stitch, or French knots to fill in the design and impart texture.
Step 5: Add Embellishments (Optional)
For extra dimension, consider incorporating beads or sequins into your embroidery. Attach them using coordinating thread or fabric glue for swift application.
Step 6: Finish and Assemble
Upon completing the embroidery, release the fabric from the hoop and trim any excess, leaving a small border. Fold and secure the edges with fabric glue or a running stitch.
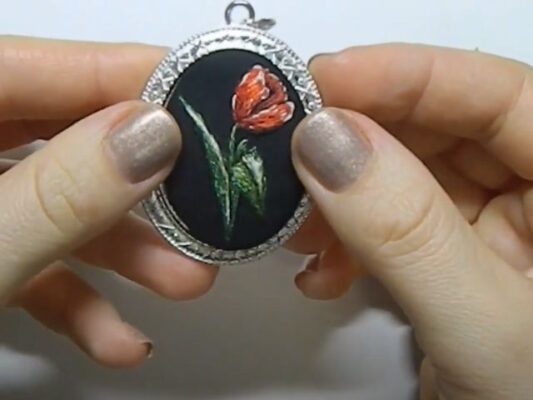
Step 7: Attach the Necklace Chain
Finally, affix your embroidered piece to a necklace chain or cord of your preference. Utilize jump rings to link the fabric to the chain or sew it onto a fabric backing for added stability.

Some Tips
- Opt for lightweight fabrics like cotton or linen for easier stitching.
- Practice embroidery stitches on scrap fabric before starting your final piece.
- Invest in high-quality embroidery materials for optimal results.
- Experiment with various stitches to add depth and texture to your design.
- Maintain consistency in your stitching for a polished finish.
- Secure loose thread ends by weaving or knotting to prevent unraveling.
- Personalize your necklace with initials, symbols, or quotes for a unique touch.
Creating an embroidered necklace is a gratifying endeavor that allows you to showcase your creativity and style. With practice and innovation, you can fashion exquisite necklaces that embody your personality and artistic vision. So gather your supplies, let your imagination run wild, and embark on a journey to craft your distinctive accessory!
Related Posts