
In the realm of creative craftsmanship, the ability to turn a picture into an SVG (Scalable Vector Graphics) file is a valuable skill, especially for those using cutting machines like Cricut. This guide will walk you through the step-by-step process of transforming a picture into an SVG, unleashing the potential for precision and versatility in your crafting endeavors.
Contents
Understanding the Basics of SVG
Before delving into the tutorial, it’s essential to grasp the fundamentals of SVG. Scalable Vector Graphics is a widely-used XML-based file format for describing vector graphics. Unlike raster images, SVGs are resolution-independent, meaning they can be scaled to any size without losing clarity, making them ideal for applications like Cricut.
Step 1: Selecting the Right Image
The journey begins with choosing a picture that you want to transform into an SVG. Opt for images with high resolution, clear details, and a straightforward composition. Images with distinct subjects and minimal background complexity tend to yield better results.
Step 2: Preparing Your Workspace
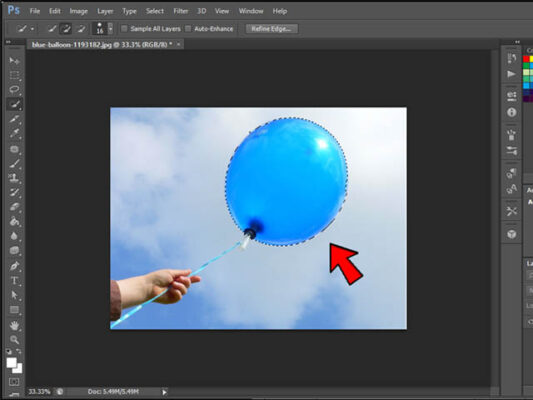
Utilize graphic design software like Adobe Photoshop or GIMP to open and prepare your chosen image. Crop or resize the image if needed, and adjust the contrast and brightness to enhance details. Remember, the cleaner and more defined the image, the smoother the conversion process.
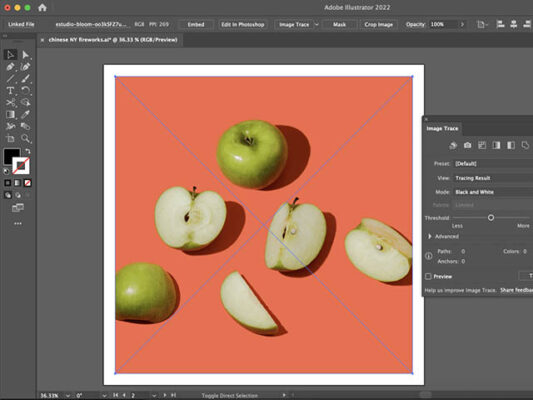
Step 3: Tracing the Image
The heart of the conversion lies in tracing the image to create vector paths. Many graphic design tools, including Inkscape and Adobe Illustrator, offer tracing or vectorization features. Experiment with the settings to achieve a balance between capturing details and simplifying the image for optimal scalability.
Step 4: Refining the Vector
Once the tracing is complete, you might need to refine the resulting vector. Remove any unwanted elements, adjust curves, and simplify intricate details. This step is crucial for ensuring that your SVG maintains the essence of the original picture while being suitable for various sizes.
Step 5: Saving as SVG
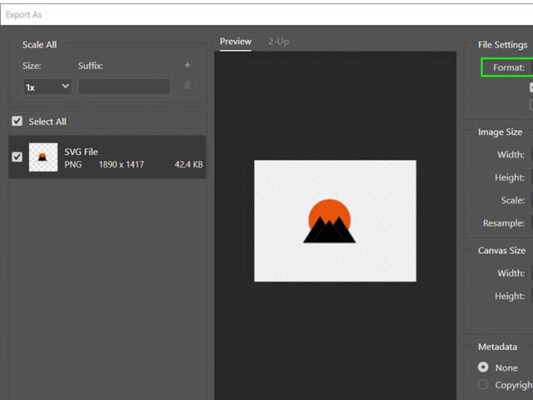
With your vectorized image perfected, it’s time to save it as an SVG file. In your design software, navigate to the “Save As” or “Export” option and select SVG as the file format. Ensure to preserve essential settings such as layers and text information, especially if your original picture had text elements.
Step 6: Testing on Cricut
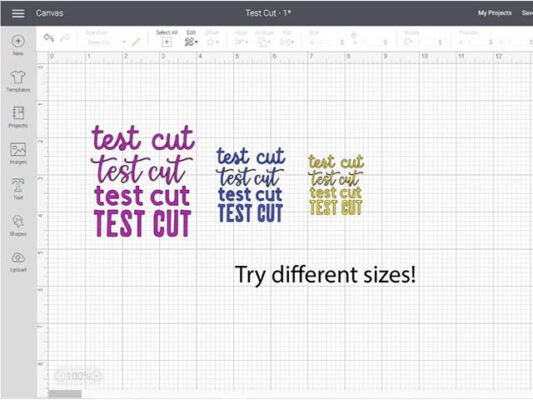
Before incorporating your SVG into a larger project, conduct a test cut with your Cricut machine. Upload the SVG file to your Cricut Design Space and initiate a test cut on a scrap material. This step ensures that the image translates well from the digital design to the physical cut.
Troubleshooting Tips
- Image Quality: If your SVG lacks clarity, consider starting with a higher resolution image to capture finer details.
- Complex Images: For intricate designs, manually refine vector paths post-tracing to preserve important elements.
- Layer Organization: Maintain a well-organized structure in your SVG file to ease any future edits or adjustments.
Turning a picture into an SVG for Cricut opens up a world of possibilities for personalized and intricate crafting projects. With the right image selection, preparation, and attention to detail during the tracing process, you can seamlessly transition from a static image to a scalable vector ready for precision cutting. Embrace the creative potential that SVGs offer and let your Cricut bring your unique designs to life with unparalleled accuracy.