
Adobe Illustrator is not just a tool but also a “digital craftsman” that every graphic designer wants to use. I am a graphic designer myself and I have always considered Adobe Illustrator an indispensable supporter in my design process. It is not merely a software, but a digital art museum where you can turn ideas into reality. In the creative process, cutting images becomes a familiar and very important task. In this article, I will help you understand how to detail this job in Adobe Illustrator.
Contents
Summary Of How To Crop In Adobe Illustrator
Cropping images in Adobe Illustrator is a simple process, anyone who is using Adobe Illustrator for the first time can do this job. Below is a summary of the steps:
- Open or create a file in Adobe Illustrator.
- Place an image in Illustrator.
- Select the image you want to crop.
- Click on the Crop Image button in the Control Panel.
- Drag the crop marks to the desired position.
- Click OK to crop the image.
Note:
- The cropped part of the image will be removed. It cannot be recovered.
- You cannot convert an image while cropping it. If you try to convert an image after selecting the Crop Image option, Illustrator will exit the crop interface.
How To Crop In Adobe Illustrator In Details
Before starting, I saw that there are many people wondering: Why can’t they crop images in Adobe Illustrator? Below is the opinion of Mordy Golding – product manager for Adobe Illustrator from 2001-2004, and now he is a Director of Content at LinkedIn.
As a vector-based program, Illustrator isn’t a equipped to edit pixel-based objects. As others have mentioned, you can use a mask to essentially reveal just the parts of the image that you want, and the remainder of the images is simply hidden from view. There are obvious benefits to this, but admittedly, there are circumstances that warrant the ability to actually crop or delete the parts of an image that you don’t want or deem unnecessary. Other than perform the image crop in a pixel-based program like Photoshop, there IS indeed a way to effectively crop an image directly in Illustrator.
Mordy Golding – Director of Content at LinkedIn
According to Mordy Golding, there is a very effective way to crop images in AI that anyone can do. Now we will learn more about each step in that process. Please follow these instructions:
- Open or create a file in Adobe Illustrator
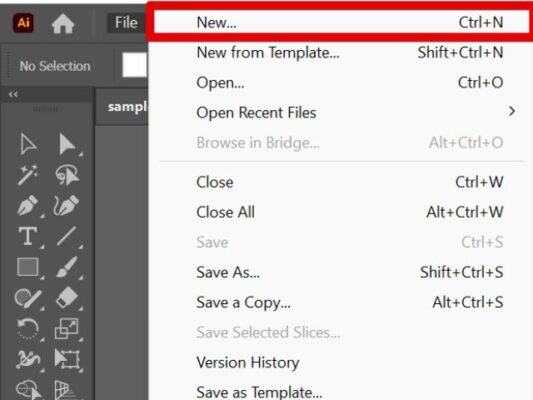
- To open a file, click on File in the menu bar at the top, then click Open in the drop-down menu. Select the file you want to open and click Open.

Open a file - To create a new file, click on File in the menu bar at the top, then click New in the drop-down menu. Select the document type and size you want and click Create.
Create a new file 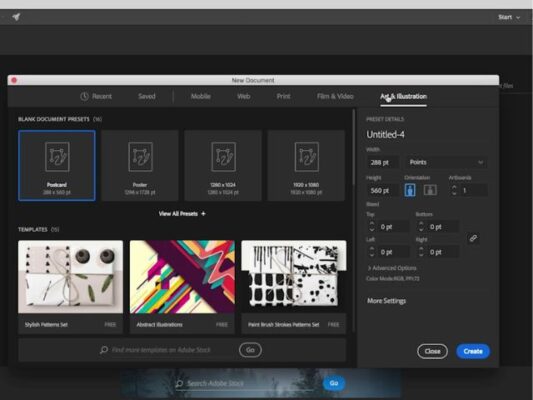
Select the document type
- To open a file, click on File in the menu bar at the top, then click Open in the drop-down menu. Select the file you want to open and click Open.
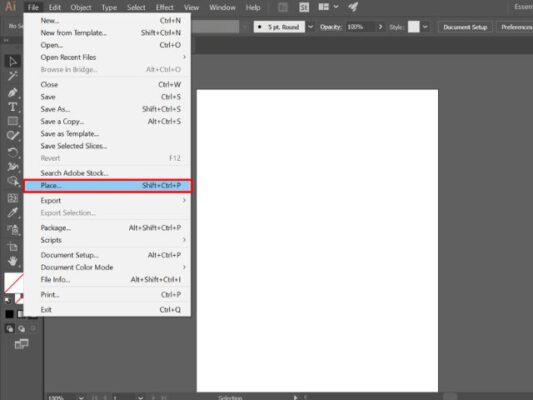
- Place an image in Illustrator
- Click on File in the menu bar at the top, then click Place in the drop-down menu. Select the image you want to place and click Place. Click and drag where you want the image to go.
Place an image in Illustrator
- Click on File in the menu bar at the top, then click Place in the drop-down menu. Select the image you want to place and click Place. Click and drag where you want the image to go.
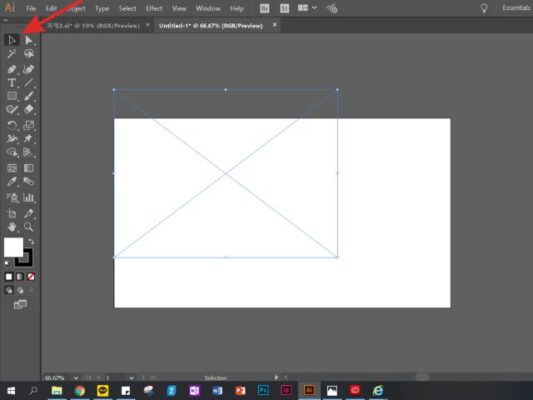
- Select the image you want to crop
- Click on the Selection Tool in the toolbar to the left. It’s the solid-black pointer near the top of the toolbar.
Select the image - Click on the image you want to crop.
- Click on the Selection Tool in the toolbar to the left. It’s the solid-black pointer near the top of the toolbar.
- Click on the Crop Image button in the Control Panel
Click on the Crop Image - The Control Panel is at the top of the screen below the menu bar. If you don’t see the Control Panel, click Window in the menu bar at the top, then click Control.
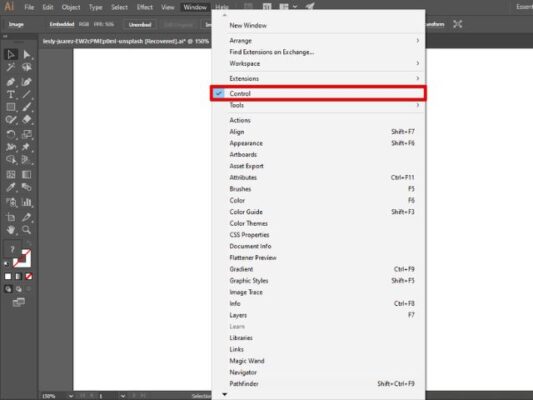
Click Window, then click Control
- The Control Panel is at the top of the screen below the menu bar. If you don’t see the Control Panel, click Window in the menu bar at the top, then click Control.
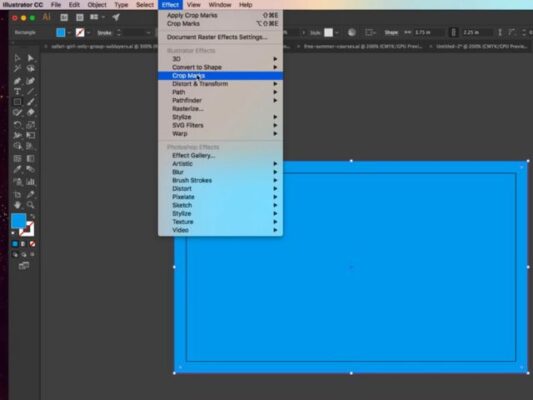
- Drag the crop marks to the desired position
- The crop marks are in the corner and sides of the image. Dragging the crop marks inwards displays a rectangle with dotted lines inside the image. The light part of the image outside the rectangle is the area that will be removed when the image is cropped. Center the rectangle around the area of the image you want to keep.

Drag the crop marks
- The crop marks are in the corner and sides of the image. Dragging the crop marks inwards displays a rectangle with dotted lines inside the image. The light part of the image outside the rectangle is the area that will be removed when the image is cropped. Center the rectangle around the area of the image you want to keep.
- Click OK to crop the image
- The cropped image will be saved as a new file.
Conclusion
Mastering the art of cropping images in Adobe Illustrator is an important skill for graphic designers. Through the above article, it can be seen that cutting images in Adobe Illustrator is not difficult. You can self-study and practice at home. Hopefully my sharing will help you in your creative process. Good luck!
Related Posts