
In the dynamic world of design, the creation of SVG (Scalable Vector Graphics) logos using Adobe Photoshop adds a layer of versatility and scalability to your brand identity. This comprehensive guide will walk you through the step-by-step process of crafting a professional-grade SVG logo in Photoshop, ensuring that your brand is represented with precision across various platforms.
Contents
- 1 Understanding SVG and Its Importance in Logo Design
- 2 Step 1: Setting Up Your Photoshop Workspace
- 3 Step 2: Designing Your Logo
- 4 Step 3: Creating Vector Shapes and Paths
- 5 Step 4: Incorporating Text Elements
- 6 Step 5: Exporting as SVG
- 7 Step 6: Optimizing Your SVG for the Web
- 8 Step 7: Testing Your Logo
- 9 Troubleshooting Tips
Understanding SVG and Its Importance in Logo Design
Before delving into the tutorial, it’s essential to grasp the significance of SVG in logo design. Scalable Vector Graphics are XML-based image formats that maintain clarity and quality at any size, making them perfect for logos. Unlike raster images, SVG logos ensure a consistent and sharp representation across diverse applications.
Step 1: Setting Up Your Photoshop Workspace
- Open Adobe Photoshop and create a new document by selecting File > New.
- Set the dimensions of your canvas based on your logo design requirements. Consider the various applications where your logo will be used.
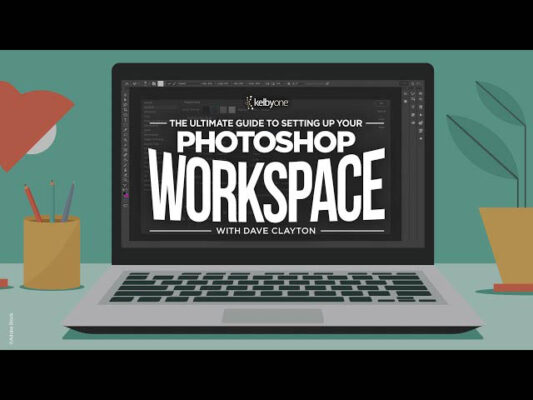
Photoshop Workspace
Step 2: Designing Your Logo
- Utilize Photoshop’s powerful tools to sketch, add text, and incorporate graphics that align with your brand identity.
- Pay attention to color choices, ensuring they resonate with your brand’s personality. Consider how the logo will appear in different sizes.
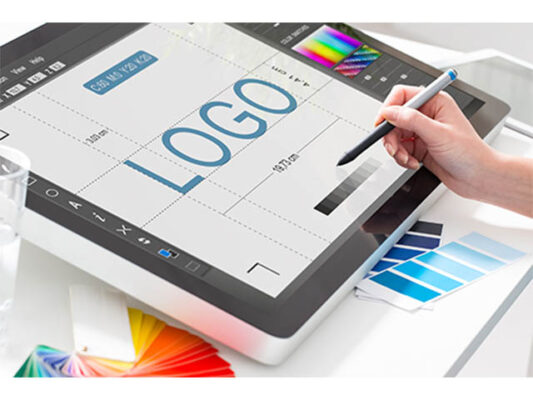
Design Your Logo
Step 3: Creating Vector Shapes and Paths
- Use Photoshop’s shape tools to create vector elements for your logo.
- Convert these elements into paths by right-clicking on the layer and selecting “Convert to Smart Object.” This step ensures scalability without losing quality.
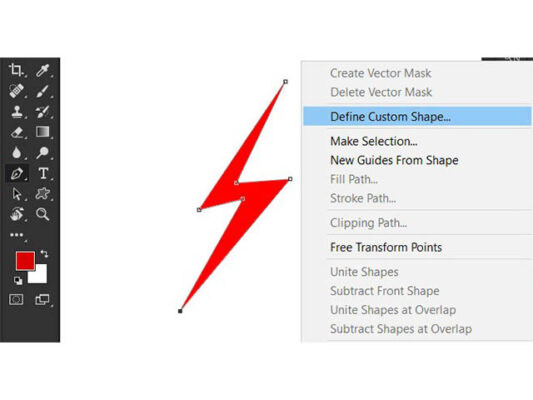
Create Vector Shapes and Paths
Step 4: Incorporating Text Elements
- If your logo involves text, use the text tool to add and customize your text.
- Convert text layers to paths to maintain consistent rendering across various platforms.
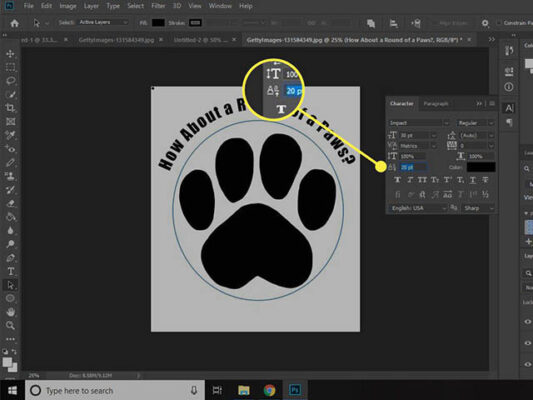
Incorporate Text Elements
Step 5: Exporting as SVG
- Once your logo design is finalized, navigate to File > Export > Export As.
- Choose SVG as the file format. Customize settings to preserve layers and text information. Ensure the “Preserve Text Editability” option is selected.
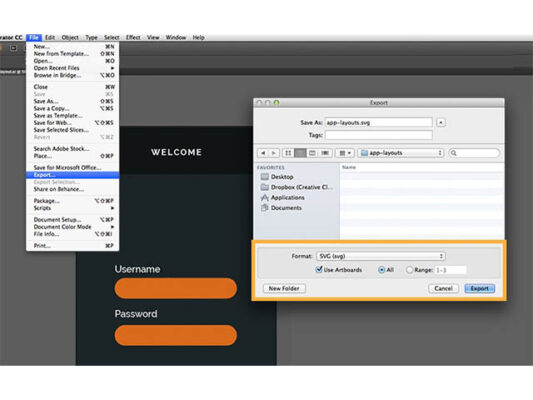
Export as SVG
Step 6: Optimizing Your SVG for the Web
- Open your exported SVG file in a text editor.
- Remove any unnecessary code or layers to optimize the file for faster loading times on the web.

Optimize SVG for the Web
Step 7: Testing Your Logo
- Before deploying your logo, perform a test by embedding it in a web page or design application that supports SVG.
- Ensure the logo scales appropriately and maintains clarity on different devices.
Test Your Logo
Troubleshooting Tips
- Intricate Designs: For detailed logos, manually adjust vector points after tracing to ensure optimal results.
- Color Consistency: Double-check color profiles to maintain a consistent brand look across platforms.
- Responsive Design: Test your logo on various screen sizes to ensure responsiveness.
Congratulations! You’ve successfully navigated the process of creating an SVG logo in Photoshop. The scalability and versatility of SVG make it an ideal format for representing your brand across digital and print platforms. Embrace the creative possibilities that SVG logos offer, and let your brand shine with clarity and precision in every application. I trust that the information provided has been insightful and beneficial for you. As you continue to explore this subject, feel free to refer to the following articles for additional perspectives and knowledge. Happy designing!
How to Make an SVG in Inkscape: A Step-by-Step Guide
A Step-by-Step Guide on How to Make a Picture into an SVG for Cricut